Kitchen Guides

How to Your Measure Your Kitchen Cabinets
Follow these steps for measuring your kitchen before calling in the cabinet pros

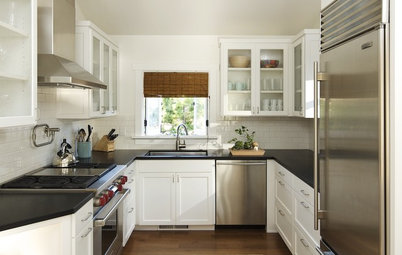
Whether you’re designing your own kitchen cabinets or counting on a professional to get the job done, it’s beneficial to take your own cabinet measurements. Having them on hand when you enter the cabinet shop lets you or your designer start crunching numbers quickly.
Measuring for new cabinets isn’t necessarily an intuitive venture. You have to know:
Measuring for new cabinets isn’t necessarily an intuitive venture. You have to know:
- centre points of major appliances
- dimensions of windows, and
- the height of your ceiling
Step 2: Measure the length of your walls
This is an intuitive step, no doubt. You must know the space you’re working with. You can start with any wall in your kitchen. Always measure the length of your island. Round to the nearest one-sixteenth of an inch.
This is an intuitive step, no doubt. You must know the space you’re working with. You can start with any wall in your kitchen. Always measure the length of your island. Round to the nearest one-sixteenth of an inch.
Whether you measure the entire length of your walls or just the span of your cabinets will depend on what you’re planning to change. If you’re simply replacing your cabinets, you don’t need to measure the length of entire walls. Simply jot down your current cabinet measurements.
However, if you’re adding cabinet space or reconfiguring your layout, you need to know the length of every wall in your kitchen. Otherwise, you won’t know how to reposition your appliances or whether you can expand your cabinetry.
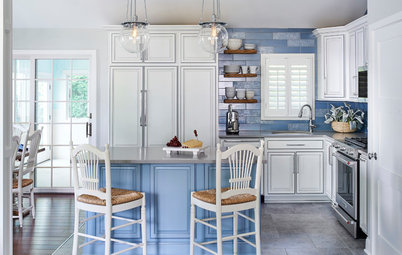
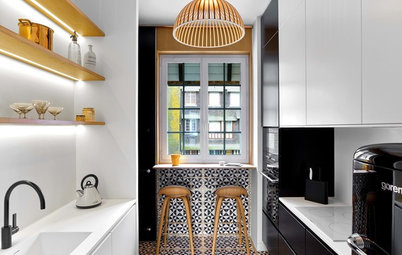
Take a look at these efficient kitchen cabinet designs
However, if you’re adding cabinet space or reconfiguring your layout, you need to know the length of every wall in your kitchen. Otherwise, you won’t know how to reposition your appliances or whether you can expand your cabinetry.
Take a look at these efficient kitchen cabinet designs
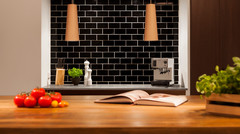
Step 3: Find the centre point of your sink, stove and windows
Unless you’re planning to shake up your kitchen’s layout, your sink, stove and windows are staying put. As a result, you have to build your design around these items. Knowing the centre point of your sink, stove and any windows allows you to correctly position the cabinets that surround them.
Unless you’re planning to shake up your kitchen’s layout, your sink, stove and windows are staying put. As a result, you have to build your design around these items. Knowing the centre point of your sink, stove and any windows allows you to correctly position the cabinets that surround them.
Begin with your sink
To find the centre point, start at the end of the nearest wall and measure toward your sink. Stop once you reach the middle part of the appliance or window. Round to the nearest one-sixteenth of an inch.
To find the centre point, start at the end of the nearest wall and measure toward your sink. Stop once you reach the middle part of the appliance or window. Round to the nearest one-sixteenth of an inch.
The next stop is your stove
It can be costly to relocate an electrical or gas cooking line, so knowing where your cooktop will be and planning accordingly is paramount. Repeat the previous step.
Wondering what to choose: Freestanding cooktop or built-in hob?
It can be costly to relocate an electrical or gas cooking line, so knowing where your cooktop will be and planning accordingly is paramount. Repeat the previous step.
Wondering what to choose: Freestanding cooktop or built-in hob?
If your sink or stove is located on an island, you don’t have to begin measuring at the end of the nearest wall. Skip the extra work and start at the end of the island. Just make sure you or your contractor knows where your island is going when it’s time to install your cabinets.
Finally, don’t forget to record the centre point of your windows
Measure the width and height, too. This ensures correct placement of any cabinets that are above or adjacent to your windows. It’s also important to include trims. This prevents major headaches down the road when you can’t fit an upper cabinet because it hits the trim of your window.
Measure the width and height, too. This ensures correct placement of any cabinets that are above or adjacent to your windows. It’s also important to include trims. This prevents major headaches down the road when you can’t fit an upper cabinet because it hits the trim of your window.
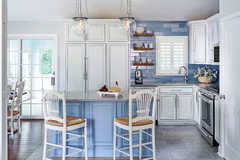
Step 4: Measure the height of your ceiling
The height of your ceiling will clue you in to the ideal height for your upper cabinets. Here’s why:
How high should your cabinets go?
It’s ultimately up to you to figure out which height works best. Most upper cabinets span 30, 36 or 39 inches high, but you can buy or make upper cabinets that are 42 inches or taller. You don’t have to take your cabinetry all the way up to your ceiling; it’s perfectly acceptable to leave empty space at the top. Some homeowners don’t like taller upper cabinets because they’re harder to access.
Of course, there are exceptions to these standards. Backsplashes aren’t always 18 inches high, for example. Sometimes they’re taller. Take note of any possible exceptions in your own kitchen and factor them into your measurements.
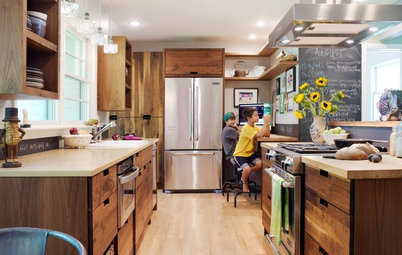
Check out these ultimate kitchen cabinet solutions
The height of your ceiling will clue you in to the ideal height for your upper cabinets. Here’s why:
- The standard height of lower cabinets is 34½ inches.
- The standard thickness of countertops is 1½ inches.
- The standard backsplash height is 18 inches.
How high should your cabinets go?
It’s ultimately up to you to figure out which height works best. Most upper cabinets span 30, 36 or 39 inches high, but you can buy or make upper cabinets that are 42 inches or taller. You don’t have to take your cabinetry all the way up to your ceiling; it’s perfectly acceptable to leave empty space at the top. Some homeowners don’t like taller upper cabinets because they’re harder to access.
Of course, there are exceptions to these standards. Backsplashes aren’t always 18 inches high, for example. Sometimes they’re taller. Take note of any possible exceptions in your own kitchen and factor them into your measurements.
Check out these ultimate kitchen cabinet solutions
If your kitchen ceiling is taller than 9 feet, you may consider double-stacking your upper cabinets. Buy two sizes that fit within the allotted space between the top of your backsplash and your ceiling.
Bonus tip: Be precise. Every fraction matters. This is true whether you’re an expert or an amateur, but it matters even more when you’re new to the kitchen cabinet process.
An incorrect measurement can throw off the entire design and cost you hundreds, if not thousands, of dollars to correct the mistake. Avoid rounding to the nearest half-inch or quarter-inch. Take exact measurements to prevent problems during installation.
Read more:
What are the Key Measurements for Designing the Kitchen?
Tell us:
Are there any other specific kitchen measurements you’d like to know about? Let us know in the Comments below.

It doesn’t have to be pretty. In fact, it probably won’t be unless you’re an artist of sorts. But your numbers won’t mean anything unless you know what areas of your kitchen they’re referring to.
Before you start anything, draw a rough blueprint of your kitchen and label all appliances, windows and doorways accordingly. When you’re measuring, write down the corresponding numbers in a clear and concise manner so that you understand them when you look back at your measurements later.