How to Display Your Favourite Family Photographs the Right Way
Showcase some of your most cherished memories with a family photo gallery that's just as amazing

This is one of those DIY projects you say you’ll get around to doing one day … but so far it hasn’t happened. Whether you’re an avid photographer or someone who loves capturing those special moments on family holidays and events, the photographs that you’ve amassed over the years generally tend to end up stuck in limbo on your electronic devices. Instead, bring them out into the real world for all to enjoy, especially those you care about. Here are a few ideas to turn those favourite lost memories into a photo display you can cherish forever.
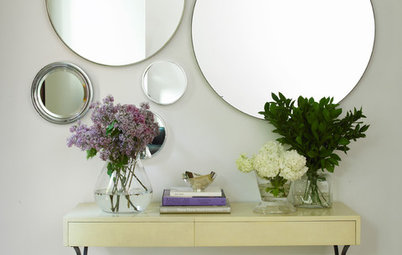
You don’t need a wide blank wall to display your memories. Small can be beautiful too. Interior designer Melanie Turner utilises an unassuming narrow wall to showcase family portraits. This vertical black-and-white framed collection makes for quite a graphic visual.
Create your own puzzle
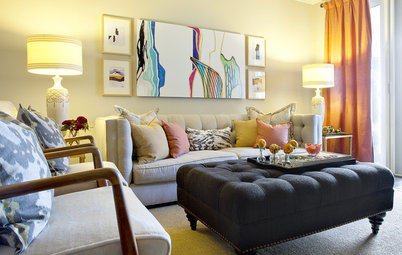
For those who don’t like the conventional straight path, you can mix things up and still create a masterpiece. Ditch the symmetric grid with the one-photo-per-frame concept for a puzzle layout instead. For instance, Lynda Quintero-Davids of Focal Point Styling mixes collages and single-framed images in a variety of sizes to fill this wall.
Browse more photo frame arrangements
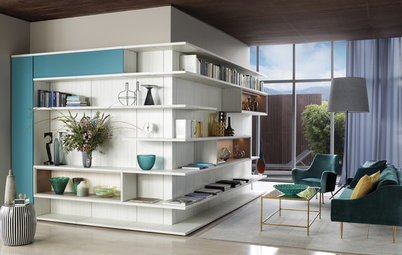
Custom-build a showcase unit
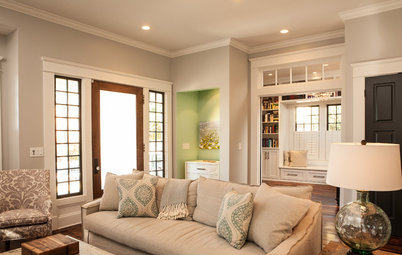
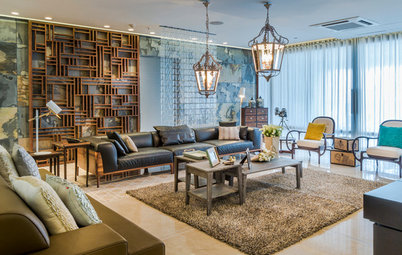
Instead of a display unit for art, the homeowners here tailor a cabinet just for their photo collection. The shelves align the bottoms of all the frames, while the different heights and sizes make the display dynamic. Also, since they aren’t nailed to the wall or fit like a puzzle, swapping images doesn’t have to be a mammoth or expensive task here.
Instead of a display unit for art, the homeowners here tailor a cabinet just for their photo collection. The shelves align the bottoms of all the frames, while the different heights and sizes make the display dynamic. Also, since they aren’t nailed to the wall or fit like a puzzle, swapping images doesn’t have to be a mammoth or expensive task here.
Wood Gallery Multiple Opening Frames, Black
Shelve it
If a whole cabinet is a bit much, then just opt for a ledge instead. Leaning and layering different-sized frames gives the whole display some depth, making it an eye-catching personal showcase.
Conquer That Blank Wall With a Versatile Picture Ledge
If a whole cabinet is a bit much, then just opt for a ledge instead. Leaning and layering different-sized frames gives the whole display some depth, making it an eye-catching personal showcase.
Conquer That Blank Wall With a Versatile Picture Ledge
Opt for a gallery-styled display
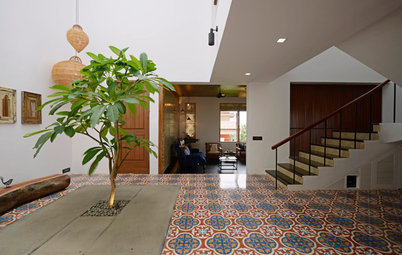
The staircase and hallway are no strangers to the family picture gallery. Given their location in the house and the fact that these are transitional areas with expansive unused walls, they become a gallery hotspot. Here the designer Tyler Karu uses frames in different sizes and colours to create a collage of photos and artworks. She even manages to sneak a window into the mix.
The staircase and hallway are no strangers to the family picture gallery. Given their location in the house and the fact that these are transitional areas with expansive unused walls, they become a gallery hotspot. Here the designer Tyler Karu uses frames in different sizes and colours to create a collage of photos and artworks. She even manages to sneak a window into the mix.
Peg them up
This is the easiest DIY project and not too tough on the purse, either. All you need, besides your prints, of course, are some clothespins, a bare wall and a wire framework or some thick coir string. This ensemble works great in a vintage modern style setting.
Vintage modern: What does it mean?
This is the easiest DIY project and not too tough on the purse, either. All you need, besides your prints, of course, are some clothespins, a bare wall and a wire framework or some thick coir string. This ensemble works great in a vintage modern style setting.
Vintage modern: What does it mean?
Pair them with old (carved) wooden frames
Create a vintage memory wall with old picture frames. You can buy them in bulk without the glass at a steal from old furniture or flea markets. Paint them a single colour and set them against a contrasting wall colour for maximum impact.
Create a vintage memory wall with old picture frames. You can buy them in bulk without the glass at a steal from old furniture or flea markets. Paint them a single colour and set them against a contrasting wall colour for maximum impact.
Blow them up
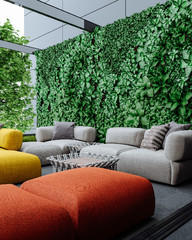
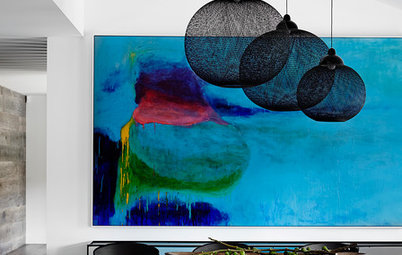
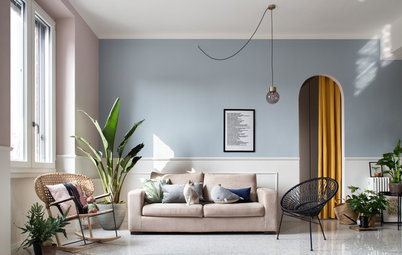
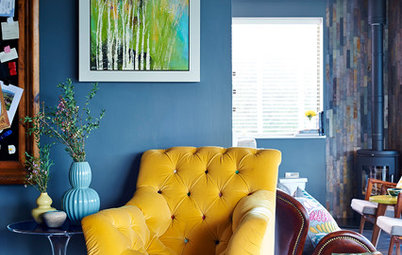
Why use a bunch of tiny framed pictures, when you can pick a few of your favourites and blow them up? Create the perfect family tribute with a larger-than-life feature wall of your loved ones. Here, April Force Pardoe Interiors primarily uses black-and-white prints for that antique feel, while the contrast against the green wall brings the images to life.
Why use a bunch of tiny framed pictures, when you can pick a few of your favourites and blow them up? Create the perfect family tribute with a larger-than-life feature wall of your loved ones. Here, April Force Pardoe Interiors primarily uses black-and-white prints for that antique feel, while the contrast against the green wall brings the images to life.
Showcase a mini coffee table gallery
It’s convention to display your photos on a wall. But Taylor + Taylor uses a glass-topped coffee table as a mini gallery instead. Sandwich them between two sheets of glass. With minimal cost and no framing hassles, all you need to do is occasionally lift the top sheet of glass and change the display to feature images from your most recent trip or events.
It’s convention to display your photos on a wall. But Taylor + Taylor uses a glass-topped coffee table as a mini gallery instead. Sandwich them between two sheets of glass. With minimal cost and no framing hassles, all you need to do is occasionally lift the top sheet of glass and change the display to feature images from your most recent trip or events.
Design an art installation
The bathroom is the most unlikely place to feature a gallery, but we have to give this hack top marks for being innovative. The display is perfectly positioned for someone taking a shower. And given that there is a glass door separating the wet and dry areas, you don’t have to worry about moisture harming your pictures. Also, to create an installation like this all you need are some frames, rope (coloured if you’re feeling adventurous) and boat cleats.
Read more:
10 Unique Ways to Enjoy Printed Family Photos
Design a Family Photo Wall
Tell us:
Do you have a family photo wall? How have you made it your own? Describe in Comments below.
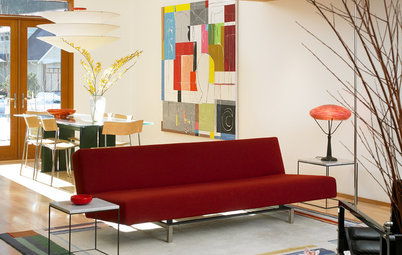


The dining area is not the most common place to hang a family photo gallery but this room here does a neat job with a tightly structured symmetric grid. The square thin black frames and the simplicity of the arrangement subtly highlight the quality of the images.
Tip: Mix and match people with places, close-ups with landscapes, to create a stunning visual statement.