Houzz TV: How to Paint a Wall Like a Pro
See the tools you need and steps you should follow to get the best coverage and finish for your walls
Brenna Malmberg
13 September 2016
It takes more than paint to successfully change the color of a wall. Paint expert and decorative artist Shauna Gallagher shows us the tools she uses on the job and shares her tips on how to use each one. Watch as she walks us through her tools and gets ready to paint. You can apply her advice to your next painting project.

Watch: Here’s What You Need to Paint a Wall Like a Pro
Tools and Materials
Tools and Materials
- Spackling compound, putty knife and sandpaper
- Screwdriver (if you’ll be removing switch plates)
- Painter’s tape
- Tape gun and paper
- Paint can opener and stir sticks
- Paint pans (trays)
- Adhesive plastic wrap
- Bucket with cage (if more than 1 gallon of paint is needed)
- Chip brush
- Rollers
- Roller covers
- Extension pole
- Angled and short brushes
- Rags and rubbing alcohol
- Rubber mallet
1. Prep the Wall
Fill in small holes. If you have nail holes, patch them with spackling compound. Gallagher uses one with a built-in primer; that way she doesn’t need to prime that small section before painting. Apply a small amount of spackling compound and scrape it as tightly as you can against the wall with the putty knife. If you don’t, you can end up with big spots in the wall that are slightly raised. If that happens, use sandpaper to make it flush with the wall surface.
Remove switch plates. Having a screwdriver on hand lets you quickly remove electrical outlet covers before you begin painting.
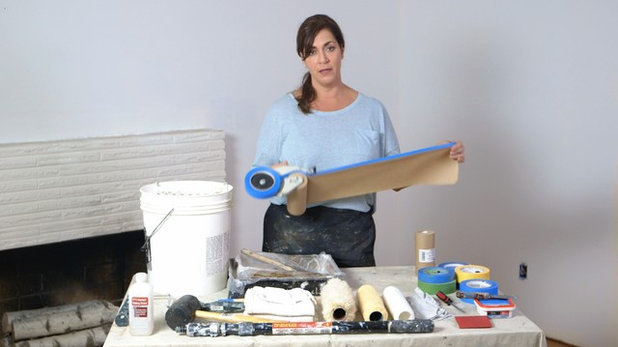
Mark off the area for painting. Gallagher next reaches for painter’s tape. In general, she recommends blue painter’s tape. If you need really crisp lines, green tape might be the way to go. If you have a delicate surface, such as wallpaper or a freshly painted wall, use yellow tape.
Consider a tape-paper combo. “When I’m taping off a room, the tool I can’t live without is my tape gun,” Gallagher says. A tape gun, which she is holding in the photo here, contains rolls of tape and brown masking paper. As you use the tape gun, it applies a layer of tape along the edge of the paper. The combination protects baseboards and ceilings from splatters and smudges.
Fill in small holes. If you have nail holes, patch them with spackling compound. Gallagher uses one with a built-in primer; that way she doesn’t need to prime that small section before painting. Apply a small amount of spackling compound and scrape it as tightly as you can against the wall with the putty knife. If you don’t, you can end up with big spots in the wall that are slightly raised. If that happens, use sandpaper to make it flush with the wall surface.
Remove switch plates. Having a screwdriver on hand lets you quickly remove electrical outlet covers before you begin painting.
Mark off the area for painting. Gallagher next reaches for painter’s tape. In general, she recommends blue painter’s tape. If you need really crisp lines, green tape might be the way to go. If you have a delicate surface, such as wallpaper or a freshly painted wall, use yellow tape.
Consider a tape-paper combo. “When I’m taping off a room, the tool I can’t live without is my tape gun,” Gallagher says. A tape gun, which she is holding in the photo here, contains rolls of tape and brown masking paper. As you use the tape gun, it applies a layer of tape along the edge of the paper. The combination protects baseboards and ceilings from splatters and smudges.

2. Prepare the Paint
At this point, it’s time to crack open the paint can.
Mix the paint. Use a paint can opener to remove the lid. Then stir the paint well. You should stir it each time you need to pour paint into your pan or bucket, because the paint separates as it sits. Using the stir stick will ensure an even color and sheen across the wall.
But should you pour the paint into a pan or a bucket?
Fill a pan. As a general rule, Gallagher says to use a paint pan, or tray, if you are using less than a gallon of paint. A pan also is easier to clean once you are done painting, especially if you line it before painting with adhesive plastic wrap.
Or go with a bucket. Break out a plastic bucket if you have a larger room to paint and need more than a gallon of paint. If you use a bucket, you will also need to insert a cage into the bucket, as shown here, to help remove excess paint from the roller. The bucket method is also ideal if you are using a fluffy roller cover to paint over heavily textured surfaces. If you use a fluffy roller cover in a pan, it will quickly soak up all the paint and the pan will need to be refilled more often.
Clean the rim of the paint can. It’s helpful to have a small, inexpensive chip brush on hand to aid with cleanup. Gallagher uses her chip brush to remove paint from the rim of the can. “If you don’t, it will dry and become like a glue, making it really hard to open next time,” she says.
3. Start Painting
Now you’re ready to apply the paint.
Use a strong, good-quality roller. The less the roller flexes on the wall, the better the paint coverage you’ll get.
Choose a roller cover. Choose the thickness of your roller cover based on the texture of the wall. The smoother the wall, the thinner the roller cover.
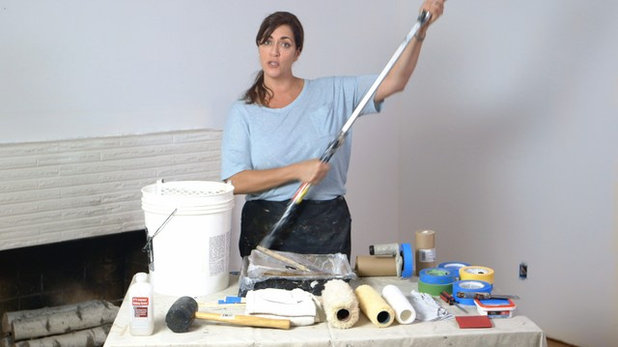
Add length. An extension pole for your roller will allow you to paint the whole wall without having to get on a ladder.
Finish with brushes. An angled brush is helpful when you are “cutting in,” or painting around, the edges. A short brush will help you clean up any edges.
Wipe away mistakes. If paint gets on the wall or ceiling where you don’t want it, remove the spot using a rag with a little bit of rubbing alcohol on it.
Pound on the lid. Once you are finished, close the can of paint with a rubber mallet instead of a hammer. It won’t crush the top of the can, making the can easier to open next time.
Watch: Here’s What You Need to Paint a Wall Like a Pro
Next: Should you roll paint on the wall first or start around the trim?
Now you’re ready to apply the paint.
Use a strong, good-quality roller. The less the roller flexes on the wall, the better the paint coverage you’ll get.
Choose a roller cover. Choose the thickness of your roller cover based on the texture of the wall. The smoother the wall, the thinner the roller cover.
Add length. An extension pole for your roller will allow you to paint the whole wall without having to get on a ladder.
Finish with brushes. An angled brush is helpful when you are “cutting in,” or painting around, the edges. A short brush will help you clean up any edges.
Wipe away mistakes. If paint gets on the wall or ceiling where you don’t want it, remove the spot using a rag with a little bit of rubbing alcohol on it.
Pound on the lid. Once you are finished, close the can of paint with a rubber mallet instead of a hammer. It won’t crush the top of the can, making the can easier to open next time.
Watch: Here’s What You Need to Paint a Wall Like a Pro
Next: Should you roll paint on the wall first or start around the trim?
Related Stories
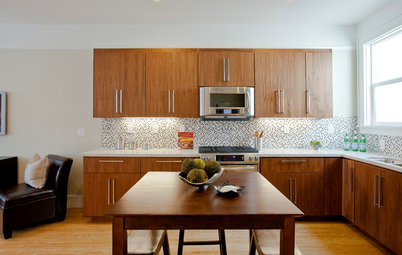
Kitchen Guides
10 Key Kitchen Dimensions You Need to Know
Here are key kitchen dimensions that will help you design like a pro
Full Story
More Room Guides
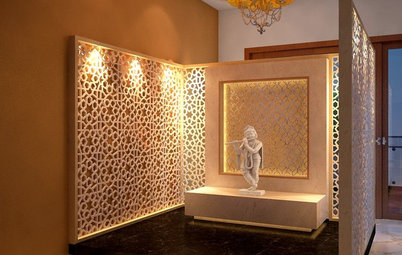
35 Serene Puja Room Designs
Take a leaf out of these elegantly designed, beautiful prayer rooms on Houzz
Full Story

Decorating Guides
What Are the Benefits of Hiring an Interior Designer?
From furnishing working drawings to beautifying the home, find out how an interior designer plays multifunctional roles
Full Story
More Room Guides
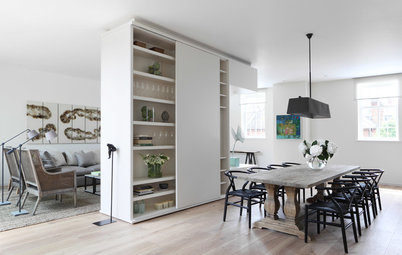
Turn One Room Into Two With These Genius Ideas
Carve out an extra room within your home with these fab room-splitting tips and tricks
Full Story
Bedroom Guides
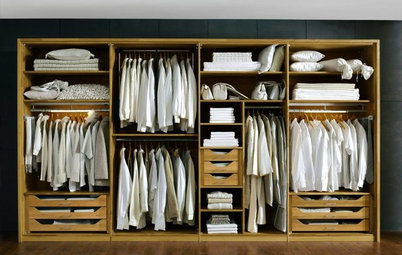
What Are the Ideal Wardrobe Measurements?
Here are dimensions for different types of wardrobe designs that ensure maximum functionality and storage
Full Story
Architecture
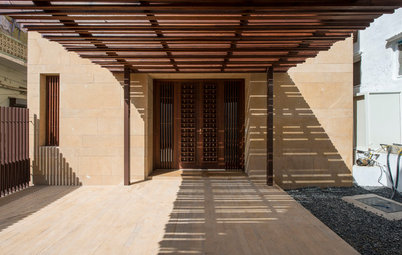
These Indian Homes Know How To Combat Harsh Climate
See how these homes by SPASM, Kumar Moorthy & Associates and JPLUSDARCHITECTS mitigate the ramifications of harsh climate ahead of time
Full Story
Architecture
How to Find an Architect That's Right for You
Make the construction and renovation of your home a pleasant and memorable journey by selecting the right architect
Full Story
Bathroom Guides
Step-by-Step: A Guide to Renovating Your Bathroom
Planning to renovate your bathroom? Learn about the different stages involved in the remodelling process
Full Story
Living Rooms
30 Best Sofa Designs
This guide gives a rundown of sofa types that will leave you spoilt for choices
Full Story
Small Spaces
7 Stylish Ways to Dry Your Laundry In a Small Apartment
Has your drying rack become a perpetual eyesore in your home? These dapper laundry drying solutions have you covered
Full Story
So helpful! very well explained in non-pro terms but important details are provided.
I shared with my daughter who is painting her baby nursery!