DIY Project: Vintage Book Wallpaper
Give your home getaway a well-read look with writing on the wall

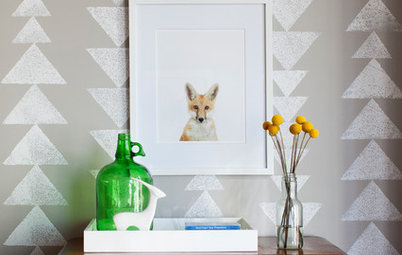
A quick look through my design portfolio and it’s obvious I’m a fan of wallcovering. From grasscloth to fabric, geometric prints to toile, adding texture, color and/or pattern with textiles is always my preference over paint. Since many high-end wallcoverings come with high-end price tags, we can’t all shell out the clams to clad our walls so elegantly — unless we get creative, that is. Here’s a way to cover your walls with words and illustrations from old books. If you’ve ever (a) read a book (b) held a paint brush (c) cut a piece of paper, you can do this project. Check it out:
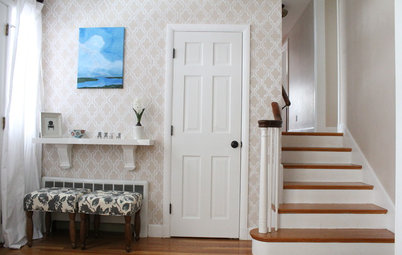
First up, you've gotta decide on the proper room for this project. Kitchens and bathrooms? Hell no — in fact, consider all wet spaces totally off limits. Guest rooms, offices or reading nooks? Yes, please. For my own little typographyfest, I chose a bachelor's attic which is used for quiet escapes. I'll tell you what would have made it even quieter: Having a handyman come fix the extremely loud squeaks from the old floor boards.
Step 1: Once the desired installation area is clear of furniture, decide on a starting point. Use Scotch tape to stick a single page up in an area that's somewhat central — this is where you'll begin the process. If your wall has windows or doors, I suggest starting flush with casings to help ensure each page sits perfectly flush with the trim work. This is also the perfect point in the project to decide if you wanna highlight the black accents from each page's typefont by painting baseboards and/or casings with black paint. If so, I recommend knocking that out before proceeding to Step 2.
Step 2: Protect the floor with contractor paper. Once it's laid out, set up your work station with the most essential materials: a small bucket, a container of wallpaper paste, a stack of vintage books and an angled paint brush.
Note: You'll eventually need a utility knife once you reach corners; however, that's not really necessary until the tail-end of the project. Why have an extra sharp tool hanging around if you don't need it just yet? You get the point.
Note: You'll eventually need a utility knife once you reach corners; however, that's not really necessary until the tail-end of the project. Why have an extra sharp tool hanging around if you don't need it just yet? You get the point.
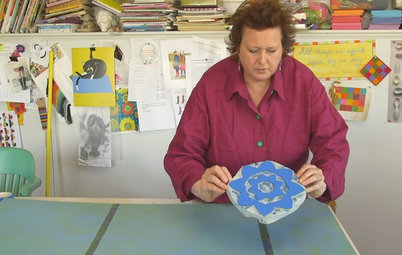
Step 3: Pour the wallpaper paste into the small bucket. Beware: The milky cascade of the paste over the lip of the container is rather hypnotic; it's probably wise to keep your four-footed friends away. While the paste appears to be Vitamin D-riffic, a hefty vet bill will most likely prove otherwise.
Step 4: Dip the angled paint brush into the bucket of paste. Cover the entire back of each page by lathering it with the brush in an X-like motion.
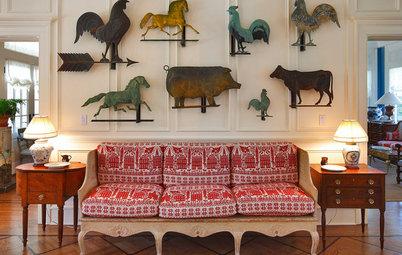
Step 5: Once the back of each page has been slathered with paste, apply the pages to the wall, slightly overlapping each one. This slight overlap adds to an overall layered effect. Check out the chapter title of the page in this photograph. Now that's a conversation starter, for sure.
Step 6: Every now and then, change the direction of each page. From far away, the mixup of vertical and horizontal lines adds visual interest and a little bit of movement to the intended look. Just don't attempt to actually read those sideways pages; you may end up with a pricy optometrist bill.
Step 7: Once you reach corners, cut away excess paper using a utility knife. The same goes for outlets or outlet covers.
And that's it. For $20 or $30 and just a few hours of work, lackluster drywall can be transformed into something classic, literary and unique. Plus, you can trick your friends into thinking both you — and your house — are seriously well-read.
More DIY:
Make a Vintage Suitcase Dog Bed
Make a Two-Way Chalkboard Tabletop
How to Makeover Ghastly Knickknacks
More DIY:
Make a Vintage Suitcase Dog Bed
Make a Two-Way Chalkboard Tabletop
How to Makeover Ghastly Knickknacks