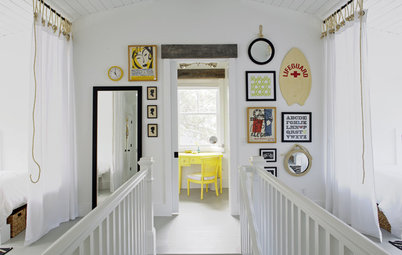
Decorating Secrets: Picture-Perfect Way to Hang Art
Save your drywall with these easy steps for hanging framed pieces

My friend Christina’s mom (whom we’ll refer to as “Maxine” since I like names with Xs in them) is one of the most pleasant and sophisticated people I’ve ever met … at least until she gets behind the wheel of a car. Should a careless or lazy driver break her stride or mess up her routine, the classy lady goes from fancy talk to rapid fire F-bombs in two seconds flat.
I’m pretty much the same way when it comes to hanging art: no patience and lots of expletives. At first, sticking art up on the wall seems so simple, then all of a sudden — BAM! — a half hour’s gone by and I find myself dealing with questionable issues such as: How high is too high? When did hanging art become a math quiz? Why are there now 12 holes in my drywall? What’s up with this damn nail not working?
Perhaps these simple steps will help save you from dropping F-bombs and Swiss-cheesing your own drywall. Should how-to articles on road-rage therapy be more your speed, I can’t really help you. Perhaps you need to chat with “Maxine.”
Since I woke up in a bad mood and was having a bad hair (and when I say hair, I mean overall self image) day, I decided to let my contractor Nick run through the steps into these photos. Come to think of it, he may have been having a bad hair day too, but since he was smart enough to throw on a ball cap, we'll never know.
Step 1: Find a stud. Before you commit to a location, find a stud to screw into either using a stud finder (enter joke about Nick here) or by tapping your knuckles to the wall. If you hear a shallow, solid thump, congratulations, you've found a stud; they're usually spaced between 16 and 24 inches apart.
Note: For lightweight art under five pounds, a simple nail will work, but attaching art to a stud is a safer option.
Note: For lightweight art under five pounds, a simple nail will work, but attaching art to a stud is a safer option.
Step 2: Determine center focal point. A general rule of thumb is to keep the center focal point approximately 5 feet above the ground: between 57 and 60 inches seems to be the most popular range. Measure 57 inches and see how it works both for your eye level and the overall relationship of the art to the furniture in the room.
Note: This is based on the average height of a person being 5'7'. If you're gargantuan in stature like my 6'5' self, it's okay to break the rules and go slightly higher; my art sits closer to 62 inches above the ground. Also, your focal point may be lower in an area (such as in a living room) where most of the time you'd be viewing the art while sitting down.
Note: This is based on the average height of a person being 5'7'. If you're gargantuan in stature like my 6'5' self, it's okay to break the rules and go slightly higher; my art sits closer to 62 inches above the ground. Also, your focal point may be lower in an area (such as in a living room) where most of the time you'd be viewing the art while sitting down.
Step 3: Lightly mark center focal point. Whatever your preferred center point ends up being, albeit 57 or 60 inches, mark a point of reference on the wall using a pencil.
Step 4: Measure distance to top of art. Unfortunately, there's some more math involved, sorry! Establishing the center point is actually the hardest part; now it's time to decide exactly at what height you'll drill into the wall. With the mark on the wall and the center of the art lined up, use the tape measure to determine the distance from the ground to the very top of your art. Jot this measurement down.
Step 5: Measure distance from wire to top of art. Almost done with crunching numbers, I promise. Pull up on the wire, then measure the distance from the center of the tightened wire's pitch to the top of your art. Now subtract this measurement from the overall height from the ground to the top of the art. The number you end up with is where you'll be screwing into the wall.
Step 6: Create a pilot hole. It's best to use a drywall anchor to hang art securely. Before getting to the anchor, prep the wall with a pilot hole. Simply use a drill and the proper drill bit for the size screw needed for your art. Once it sounds as though the bit has hit the stud, go ahead and retract the drill.
Step 7: Insert drywall anchor. Once the pilot hole is done, push the anchor in with your finger or tap it with a hammer or rubber mallet. Next, insert the screw into the anchor.
Step 8: Adjust the screw. Use drill to adjust the drywall anchor screw to the proper depth for your art.
Step 9: Use a level. Once the art is in place with the wire hanging on the drywall anchor's screw, use a level to ensure the top of the art is perfectly straight.
Done! I hope these steps saved you from dishing out four-letter-words. The orange owl is by artist and fellow HGTV producer Avelino Pombo, and the framing is from Larson Juhl.
Do y'all have any of your own tips for hanging stuff on walls?
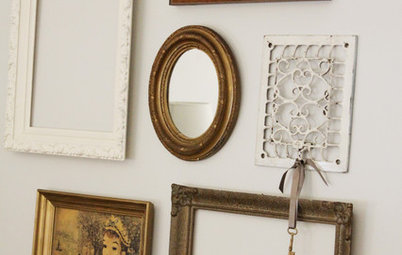
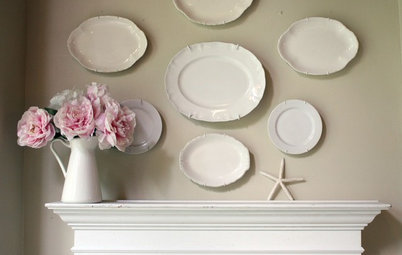
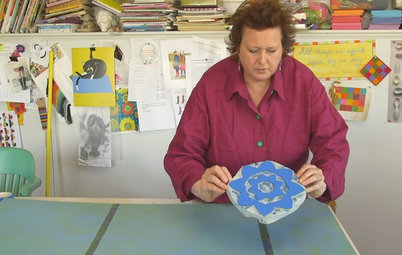
More: The Secret to Hanging a Plate Collection
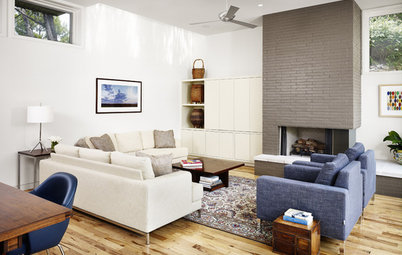
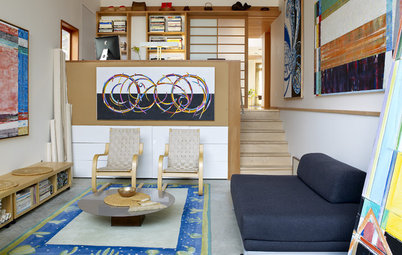
Opposites Attract: Modern Art in Traditional Rooms
Decorating Secrets: How to Layer Patterns
Do y'all have any of your own tips for hanging stuff on walls?
More: The Secret to Hanging a Plate Collection
Opposites Attract: Modern Art in Traditional Rooms
Decorating Secrets: How to Layer Patterns