How to Paint Your Hardwood Floors
Know how to apply nail polish? Then you can give your wooden floors a brand-new look

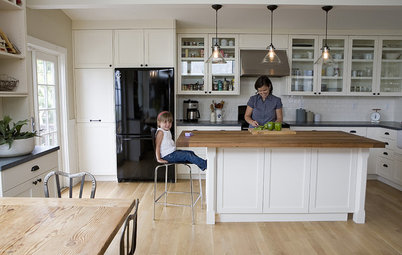
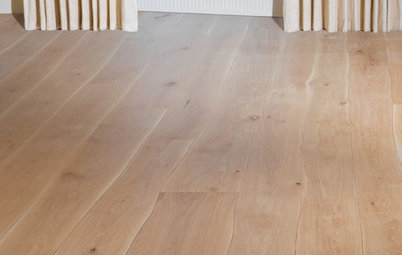
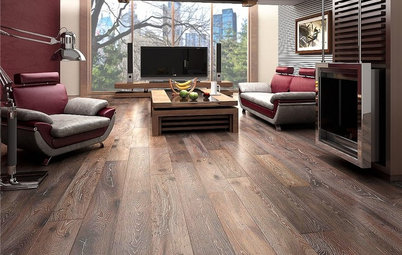
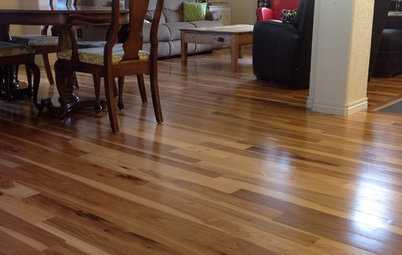
Painting older solid wood floors can give them new life without the expense and mess of refinishing them. It can also make your floors a beautiful design element in their own right, particularly with interesting patterns. It takes some time and patience to paint hardwood floors, but if you know how to apply nail polish, you already know the basics.
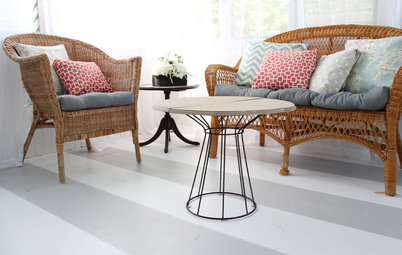
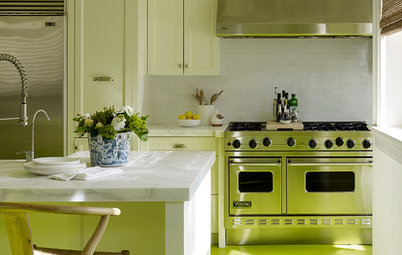
5. Put on the color. You can use all one color or use painter’s tape to add shapes or patterns to the floor in a second color. You may find some inspiration in these photos.
You can use a brush or a roller, but make sure you have the right equipment and that you put on a very thin coat of paint. “Apply it slowly with a 1/4-nap microfiber roller or natural bristle brush,” says Comer. “You won’t get any bubbles at all with a brush, but it’s very labor intensive.” The roller will be faster, he adds, but you have to roll very slowly to keep from creating bubbles. Regardless of what tools you use, think about where you will start and end up — don’t paint yourself into a corner.
6. Let it dry. This is where the nail polish analogy comes in. The basics of the entire process are just like applying nail polish: base coat, color coat, color coat, topcoat. Every coat needs to be nice and thin, not gloppy, and every coat needs to dry thoroughly before the next one goes on. If the surface below the base coat isn’t clean, you'll get bubbles. The downside with painting floors is that there isn’t a handy ultraviolet light to make it all cure quickly. After the first coat, wait at least 24 hours before the next coat.
7. Add more color coats. Two more thin coats of color are next, with 24 hours to dry in between. Remember to paint on each coat as thinly as possible. “If you do a thick coat of paint on the floor, then it stays tacky for longer and doesn’t cure as well,” Comer.
9. Apply topcoat(s). For long-term durability, you can finish with one or two coats of a polyeurethane clear coat. Allow 24 hours to dry between coats. Again, your local paint store should be able to point you toward an appropriate product. Look for low- or no-VOC paints and coatings to minimize the fumes.
9. Apply topcoat(s). For long-term durability, you can finish with one or two coats of a polyeurethane clear coat. Allow 24 hours to dry between coats. Again, your local paint store should be able to point you toward an appropriate product. Look for low- or no-VOC paints and coatings to minimize the fumes.
10. Wait to walk. If you apply topcoats, you will have five to six layers of coatings on your floor. It’s a good idea to wait another day or so to walk on it, and then only in socks. The longer the floor is allowed to cure, the harder the finish will be — just like your nails!
More:
Are You Gutsy Enough to Paint Your Floor White?
Houzz guides to flooring
More:
Are You Gutsy Enough to Paint Your Floor White?
Houzz guides to flooring


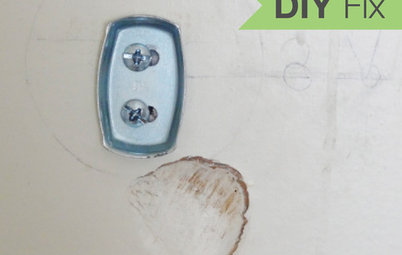
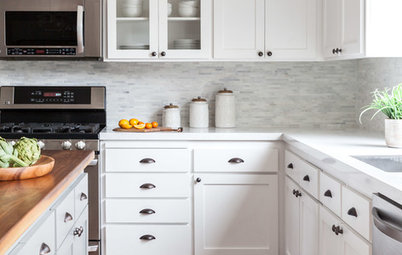

2. Clean the floor. Vacuum up dust; wipe using clear water if necessary to get it all up and then wash with a wood floor cleaner. The most important part of this step is to let the floors dry after they are cleaned — ideally two days and possibly longer. If there is moisture in the floors when you paint them, the primer and everything on top of it is likely to bubble up.
3. Put on the primer. Time to roll or brush on the primer — but what kind? “We recommend a penetrating, oil-based primer that can really seal the surface up tight, but a good latex primer could work well too,” says Phillip Storey of Redhill Painting in San Francisco. This is a good time to consult your local paint store about the right product to use. You will generally want the color coats to be paint made specifically for floors. If that paint is latex, use a latex primer. If oil, use an oil primer. Let it dry at least overnight, and if it’s an oil product, give it 24 hours or a bit more.
4. Sand again. It may seem like overkill, but if you don’t sand now, you may see the imperfections on every coat above this one. “We sand the primed areas again, as new wood fibers tend to get flooded with moisture and swell up once primed,” says Storey. This time use 220-grit sandpaper, which will make a much finer dust. Once you’ve finished sanding, vacuum again and use a tack cloth to make sure all the dust is off the floor. Don’t use cotton rags or paper for this, because they’ll leave fibers on the floor that can ruin your paint job.