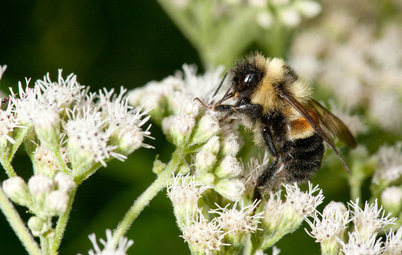
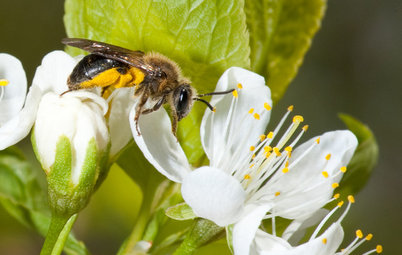
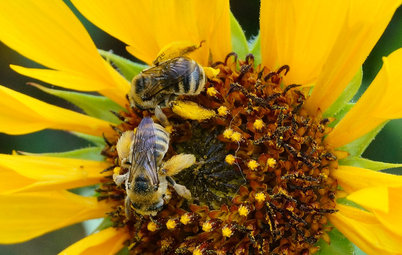
How to Design an HOA-Approved Pollinator Garden
Take these steps and be aware of these issues to create a landscape that helps nature thrive

If you live in a neighborhood with a strict homeowners association, you know how difficult it can be to make landscape changes. While HOAs can foster home values and community spirit, they can also lead to some pretty stifling rules and oversight. If you’re worried about how an HOA will respond to a new pollinator garden you’d like to install, here are some issues to be aware of and strategies that might help.
2. Plan to present your design at a board meeting for approval. This is when having a professional at least design your landscape can be a big help, because he or she not only will be able to make the plan look physically pleasing on paper, but also will able to help you accurately convey the space’s intentions and address any concerns. Having images of each proposed plant is a plus, particularly if the plant is in a garden that looks similar to your design. Many designers, particularly if they will also be installing the landscape, will be happy to attend a board meeting with you.
3. Be neighborly. Maintain your lawn, pull weeds and keep mulch looking fresh. Tend and enjoy the landscape during high-traffic times, like weekends or evenings after dinner. Strike up conversations with neighbors out walking their dogs.
Then, once landscaping time comes, talk to everyone about what you’re doing. Offer them a beer or lemonade if they stop by. If they have concerns or questions, listen to what they say. Don’t talk over them or get agitated or excitable or defensive. Be calm and smile, detailing your plan and listing why helping pollinators with a new garden is important to you.
Then, once landscaping time comes, talk to everyone about what you’re doing. Offer them a beer or lemonade if they stop by. If they have concerns or questions, listen to what they say. Don’t talk over them or get agitated or excitable or defensive. Be calm and smile, detailing your plan and listing why helping pollinators with a new garden is important to you.
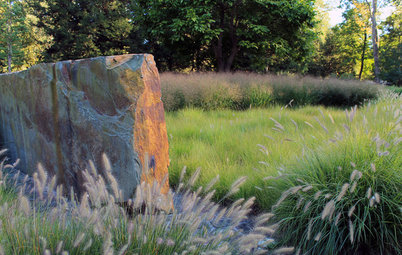
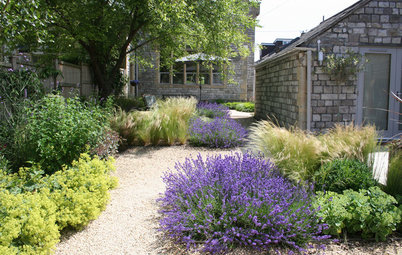
4. Start slow and smart. If your neighborhood tends to have formal or traditional landscaping, you might want to take baby steps in bringing in plants other than what they have. There are ways to incorporate wilder native plants into formal design elements.
If you’re doing this project on your own, consider easing yourself — and your neighbors — into a showy butterfly garden. Giving yourself time to learn how plants act in a 50-square-foot bed will provide valuable information as to how they’d act in a 1,000-square-foot bed. For example, you might find out an aster self-sows too much, a sedge sends out too many runners or a goldenrod just gets too big and floppy. The last thing you want is to be overwhelmed by plants and plant communities that don’t perform the way you had expected.
If you’re doing this project on your own, consider easing yourself — and your neighbors — into a showy butterfly garden. Giving yourself time to learn how plants act in a 50-square-foot bed will provide valuable information as to how they’d act in a 1,000-square-foot bed. For example, you might find out an aster self-sows too much, a sedge sends out too many runners or a goldenrod just gets too big and floppy. The last thing you want is to be overwhelmed by plants and plant communities that don’t perform the way you had expected.
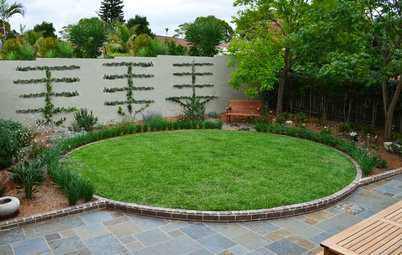
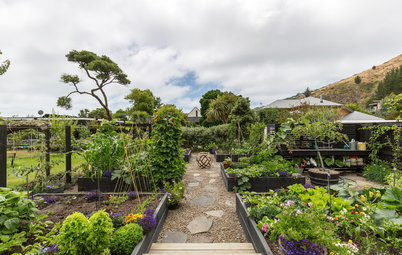
5. Group plants. A good rule of thumb is to group plants in odd numbers, especially in a less formal design. Not only do groupings better act as a beacon to flying insects, but the overall design will look more purposeful and put-together. Another strategy is to limit the number of plants blooming in any one season to no more than three — the smaller the area, the fewer the variety of blooms.
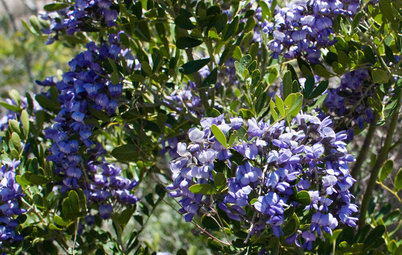
If you have a more formal landscape, or are concerned about tidy-looking perennials, try any of the following: ‘October Skies’ aromatic aster (Symphyotrichum oblongifolium ‘October Skies’), little bluestem (Schizachyrium scoparium), muskingum sedge (Carex muskingumensis), dwarf blue wild indigo (Baptisia australis var. minor), butterfly milkweed (Asclepias tuberosa) and dotted blazing star (Liatris punctata).
If you have a more formal landscape, or are concerned about tidy-looking perennials, try any of the following: ‘October Skies’ aromatic aster (Symphyotrichum oblongifolium ‘October Skies’), little bluestem (Schizachyrium scoparium), muskingum sedge (Carex muskingumensis), dwarf blue wild indigo (Baptisia australis var. minor), butterfly milkweed (Asclepias tuberosa) and dotted blazing star (Liatris punctata).
6. Pay attention to height. Generally, plants less than 3 to 4 feet tall are less imposing from any distance. If your pollinator garden is a foundation bed, consider putting taller plants in the black and shorter ones in the front. If it’s an island bed, place taller plants in the middle. If the garden is anywhere near a sidewalk, keep plants 2 feet tall or less and 1 foot to 2 feet away from the edge of the concrete.
7. Let the garden sit for a few years before expanding it. Oftentimes we just need time to warm up or get used to new ideas and concepts. After two or three years, you might find that your neighbors have embraced your pollinator garden and, as a result, you can make it a little bigger using all of the above principles once again.
More
How to Grow a Modern Pollinator Garden
How to Design a Garden for Native Bees
More
How to Grow a Modern Pollinator Garden
How to Design a Garden for Native Bees


Be tactful when asking, and keep it simple and positive, such as: “I’m thinking of improving my landscape and would like to know what this clause refers to in regard to flower bed arrangement and plant type.”