Before & After: A Modern Farmhouse Kitchen for Cooking Up a Storm
When a Sydney couple moved to the country, top of the list was turning their horror '70s kitchen into a practical space

In a Q&A format, we talk to the designers – and examine the creative thinking – behind some of Houzz’s most loveable rooms.
The kitchen before works
What was the original kitchen like?
An original ’70s kitchen with red laminate benchtops. It felt dark, the layout was dysfunctional and many of the cupboard doors were falling off.
It featured a raised, tiled floor that lowered the benchtop height to 870 millimetres – much too low to be practical.
It also housed an old and unusable wood fire, and just the one set of drawers.
The kitchen after works
What was the brief?
What was the brief?
- More bench space.
- Better functionality.
- A feature island.
- Storage space to accommodate the cook’s appliances and homemade jams, pickles and preserves made of fruit from the farm’s orchards.
- More drawer storage.
- Fix the flooring between the kitchen and living area.
- Better lighting.
- A ceiling fan.
Ready to renovate your kitchen? Find a local kitchen designer on Houzz to help
The kitchen floor plan before works
What was your starting point for the new design?
My starting point is always the space available and how to design a kitchen that functions correctly and meets the client’s brief. Once the layout is complete I then work on the colours and finishes.
What was your starting point for the new design?
My starting point is always the space available and how to design a kitchen that functions correctly and meets the client’s brief. Once the layout is complete I then work on the colours and finishes.
The kitchen floor plan after works
What exactly did you do?
What exactly did you do?
- Removed the old kitchen and tile floor.
- Laid a new, modern vinyl, timber-look floor.
- Put in a new kitchen with a far more functional layout and a statement island with plenty of power points for the client’s benchtop appliances.
- Boosted the lighting set-up with track lighting and a large LED strip light running across the back-wall joinery.
The kitchen before works
- Turned the space occupied by the old walk-in pantry into a new power room (the house only had one bathroom). This also created more wall space in the kitchen, which is where the large fridge/freezer now sits.
- As the couple mostly planned to eat at the island bench, I turned the area where the dining table used to sit into a reading area with a chaise longue.
The kitchen before works
Key design aspects
Colour palette:
Colour palette:
- Charcoal
- Warm white
- Timber.
- Talostone Elba White quartz stone in Leather Honed to the benchtops and splashback.
- Polytec Blossom White in Sheen laminate to the rear joinery.
- Polytec Cinder Matt laminate to the island, shadowline, range hood and cupboard carcasses.
- Polytec Steccawood decorative battens in Angora Oak matt, which were cut to a custom width for the island battening.
- Hydroplank Soho vinyl flooring.
Paint palette:
- Dulux Mt Aspiring to the walls.
- Beacon Lighting Coral pendant, track lighting and ceiling fan.
- Temple & Webster stools.
- Kogan chaise longue.
- Brushed stainless steel tap.
- Vauth-Sagel pull-out storage and corner unit.
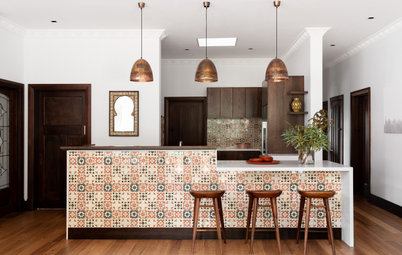
Tell us about the ribbed detailing on the island
The client wanted to make the island a feature so I used Polytec Steccawood battens custom-cut to a linear width, so as you move around the space the island’s appearance seems to change. I specified it to run 20 millimetres off the ground to highlight the battening and also to marry up with the shadowline under the benchtop.
Adding curves to the island in this way also softens its appearance and creates a feeling of movement.
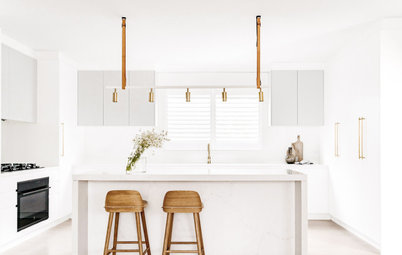
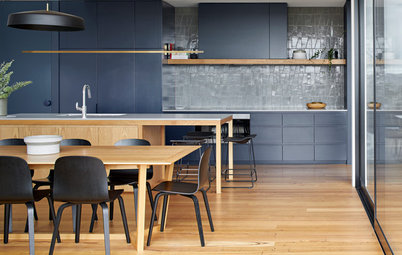
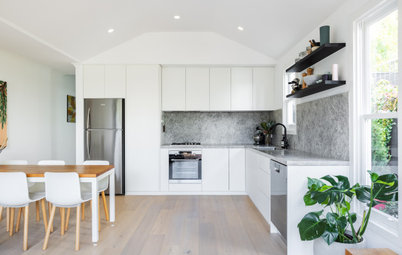
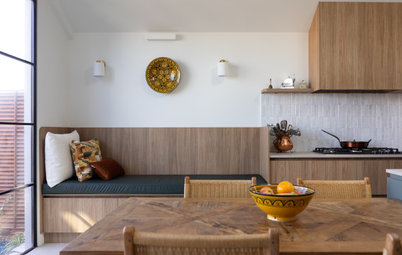
Browse images of contemporary Australian kitchens on Houzz
The client wanted to make the island a feature so I used Polytec Steccawood battens custom-cut to a linear width, so as you move around the space the island’s appearance seems to change. I specified it to run 20 millimetres off the ground to highlight the battening and also to marry up with the shadowline under the benchtop.
Adding curves to the island in this way also softens its appearance and creates a feeling of movement.
Browse images of contemporary Australian kitchens on Houzz
What storage is included in the design?
- A large cabinet with a motorised roller door that houses benchtop appliances, jams and preserves.
- A pull-out corner unit in the cupboard to store flour and baking goods.
- Oil and spice pull-outs on either side of the cooktop.
- Pull-out double bin next to the sink.
- 24-bottle wine storage.
- Plenty of drawers.
- A second appliance cabinet to house a toaster, kettle and breakfast items.
- Blum utensil drawer under the cooktop.
The kitchen before works
What challenges did you work around?
The client wanted to retain the exposed beams to keep costs down and to keep them the same as the windows, doors, architraves and skirtings.
My biggest challenge was getting the colour scheme to work with the exposed beams and timber in the space, so I had to pick up the colours with the flooring and joinery colours. I chose Polytec Blossom White, which has a bit of warmth in it and complements the timber beams, architraves and skirtings. The warm-white wall paint colour highlights the timber.
Tell us about the range hood
I wanted the range hood to really bounce off the feature stone splashback and highlight the battening on the island. To do this, I chose Polytec Cinder laminate, which is a dark colour that’s not quite black.
I wanted the range hood to really bounce off the feature stone splashback and highlight the battening on the island. To do this, I chose Polytec Cinder laminate, which is a dark colour that’s not quite black.
Why do you think this room works?
This kitchen has it all; it’s great on the eye, highly functional and the client couldn’t be happier.
We designed the space to provide everything the cook needs, including comprehensive storage.
There is a separate appliance/breakfast pantry positioned away from the main benchtop area so people can make a cup of tea or breakfast, as well as access the fridge and food items, without getting in the way of the cook.
Your turn
What do you like about this kitchen? Tell us in the Comments below. And don’t forget to save your favourite images for inspiration, like this story and join the conversation.
More
Craving more kitchen transformations? Be sure to read this Before & After: A Modern Monochrome Kitchen for a Young Family


Answers by Brett Patterson, senior designer and managing director at The Renovation Broker
Who lives here: A couple who moved from Sydney to the country
Location: Collombatti, NSW
Room purpose and size: A 19-square-metre, open-plan cook’s kitchen
Approximate budget: $60,000
How did Houzz help with this project?
The client found us on Houzz and liked that we had great reviews and lots of projects to view.
We always encourage our clients to look for inspiration on Houzz and share Houzz Ideabooks.