4 Steps to Get Ready for Kitchen Renovations
Keep your building works running smoothly from demolition to completion by following these guidelines

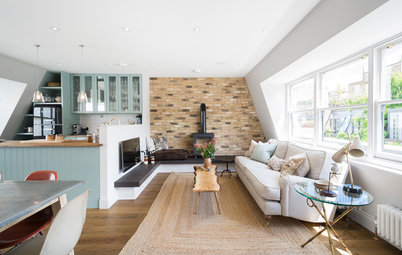
There are two actions that come to mind as being the most important when getting ready for a construction project: avoid denial and prepare. Everything you need to do falls under one of these two categories. But how, specifically, can you prepare for the first day of construction? Here are the basic steps.
2. Establish expectations with your trades
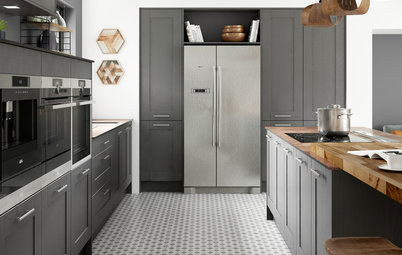
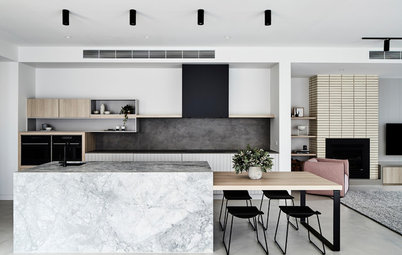
This isn’t just about telling your designer, builder and tradespeople what you expect, this is also about your builder and other professionals giving you realistic expectations. This will make you a happier client and ensure a more pleasant process overall.
As the homeowner, you have some control over the renovation schedule. Taking too long to finalise decisions can cause significant delays.
Find a kitchen designer and renovator on Houzz near you
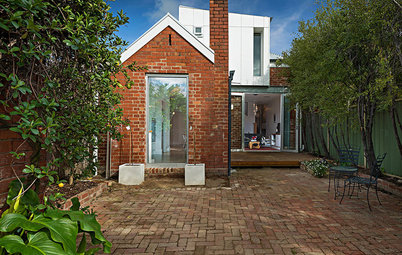
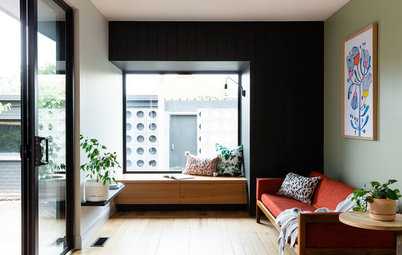
Don’t forget to be nice to the neighbours and ask your trades to do the same. Let your neighbours know you’re starting a construction project and that there will be crews around. Tell them to please let you know if they have issues. Noise, debris and blocking the street with deliveries are often issues that come up with neighbours.
Set up a recurring weekly construction meeting to touch base with your builder and other professionals. You may not need it every week, but at least it’s on the schedule in case you do.
Set up a recurring weekly construction meeting to touch base with your builder and other professionals. You may not need it every week, but at least it’s on the schedule in case you do.
Here are some things to consider and discuss with your builder:
- How long construction will last.
- Consider what you can do personally to guard against delays. Often this means having all the products on-site and not making changes.
- Dust control. How will the construction be sectioned off from the rest of the house?
- Debris removal. Are you getting a skip bin, or will debris be stored in the garage and removed in phases?
- Areas the crew can use. What will be the staging area for tools, cutting timber and tiles? What bathroom facilities will and won’t be available for your trades?
- Clean-up expectations. Some trades clean up at the end of each day and others don’t. Communicate what you want but also understand that certain requests may mean more time and expense.
- When you have to be out of the house for refinishing the floors, how long will this take and what products will be used? Do they meet your expectations of low-VOC emissions?
- What hours can the crew work and can they work on Saturdays? Arrange to provide them with the essentials, such as keys and alarm codes.
3. Empty your cabinets
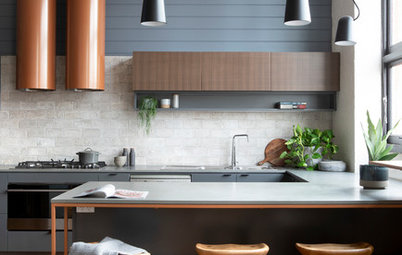
Now that you’ve taken care of business, it’s time to get your hands dirty. Rather than dreading this, look at it as an opportunity to do some serious spring cleaning. Instead of throwing everything in a bunch of boxes and deferring the editing process to the end, get it done now to make moving back in that much more fun. However, if you have too much on your plate to deal with this now, it can always be done later.
Put all the items you won’t need for a few months into boxes – or even better, big plastic storage containers with lids to protect the contents from dirt and dust. Separate out what you’ll want to use in your temporary kitchen: knives, coffee mugs, food you’ll eat and even a few wine glasses. Who says you have to drink out of plastic cups the whole time?
4. Set up a temporary kitchen
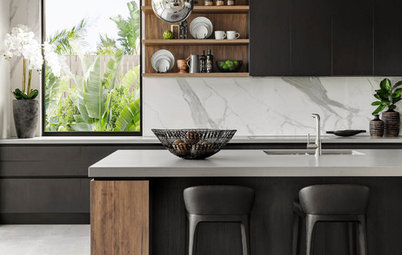
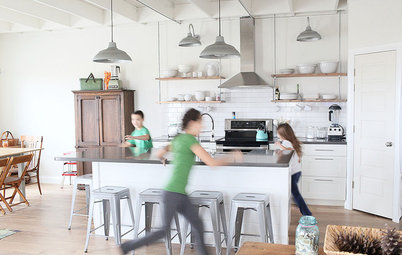
The more organised and prepared you are in this area, the happier you’ll be. A half-hearted attempt at a temporary kitchen isn’t recommended. Even if you don’t have kids and plan to eat out every night, you’ll want a place to make a cup of coffee or a snack.
I think two tables are ideal, and if you have the room, two tables plus the kitchen table for seating. If you don’t have an old table, pick up a few folding tables that can serve as both dining spaces and usable benchtops. If you’re using a nice table from the house, get a plastic-coated tablecloth to protect it.
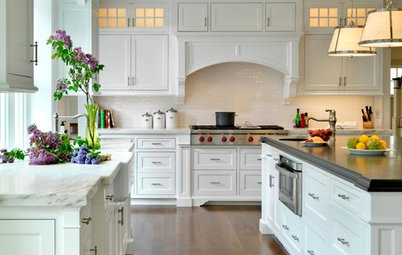
Browse more blue-and-white kitchens
The more organised and prepared you are in this area, the happier you’ll be. A half-hearted attempt at a temporary kitchen isn’t recommended. Even if you don’t have kids and plan to eat out every night, you’ll want a place to make a cup of coffee or a snack.
I think two tables are ideal, and if you have the room, two tables plus the kitchen table for seating. If you don’t have an old table, pick up a few folding tables that can serve as both dining spaces and usable benchtops. If you’re using a nice table from the house, get a plastic-coated tablecloth to protect it.
Browse more blue-and-white kitchens
Think about setting up your temporary kitchen the way you would a real kitchen, in stations:
- Set up a station for cooking and food preparation. Include a microwave, toaster and even an electric or portable stove if that’s something you’ll use. Also, keep a big chopping board handy for making sandwiches and cutting fruit. This is the perfect time to fire up the barbecue.
- Have your builder set up your old refrigerator in the temporary kitchen area.
- Store food in large, clear plastic bins with lids under the table.
- Set out an area for paper plates, napkins, cutlery and cooking utensils. Think of your temporary kitchen like a campsite or an outdoor picnic or party spot. The nicer and more organised it is, the happier and calmer you’ll feel during construction.
Your turn
What are your fail-safe tips for preparing for kitchen renovations? Tell us in the Comments below, like this story, save the images, and join the conversation.
More
Have you brushed up on the latest building materials? Catch up here with Beyond Brick and Plasterboard: Alternative Materials for Walls


Have you ordered your kitchen sink and tap? Do you have your appliance deliveries scheduled? The reason for having a list of items and a renovation timeline is that once building works start, life gets a little more chaotic – well, a lot more chaotic. Tasks such as ordering a sink can slip through your fingers, and you’ll find yourself scrambling when your builder asks for something if you’re not prepared with a schedule.