
8 Ways to Make Old Furniture Look New
Learn stripping, staining, painting and reupholstering basics to make statement-worthy furniture at home

Staining, stripping and whitewashing, oh my! If you want to revamp a well-loved old piece of furniture but are not sure where to begin, this guide is for you. Here you’ll find tips for when to use what technique, along with some valuable how-to advice.
How-to
Move the piece to an outdoor location or well-ventilated garage and remove any hardware. It is essential to protect yourself from the caustic fumes of a chemical stripper (see the list of safety gear above).
After you brush on the stripper, the paint should start to bubble up. Use a scraper or steel wool to remove the layers of old paint. Afterward, be sure to give the piece a coat of mineral spirits or denatured alcohol to remove traces of the stripper.
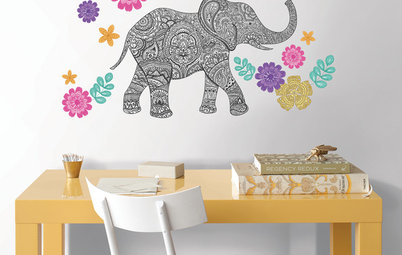
2. Stain wood tables and chairs
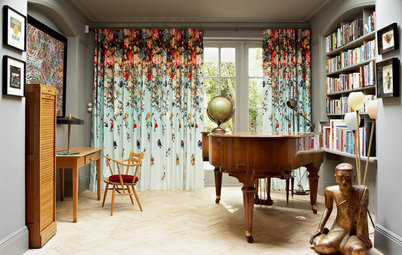
If you have an old solid wood piece of furniture, consider staining rather than painting it to show off the wood grain. The pine dining table shown here was originally orange, and the homeowners stripped it and gave it a lovely dark finish.
Tools of the trade
Sandpaper, wood conditioner, rubber or nitrile gloves, wood stain, soft cloth and polyurethane varnish.
Here’s why restored wood is the new ‘it’ material for homes
How-to
Starting with stripped wood, smooth the piece with sandpaper and vacuum or rub away all dust. Applying wood conditioner will help the finish go on more evenly.
Rub on the wood stain evenly with a soft cloth (you may want to use multiple coats) and finish with a coat of polyurethane.
Starting with stripped wood, smooth the piece with sandpaper and vacuum or rub away all dust. Applying wood conditioner will help the finish go on more evenly.
Rub on the wood stain evenly with a soft cloth (you may want to use multiple coats) and finish with a coat of polyurethane.
3. Reupholster an antique
Taking on an upholstery project takes some serious DIY skills – but if you are patient and willing to learn, it can be done. Andrea Mihalik of the reupholstery biz Wild Chairy learned her craft by reading an upholstery book and recommends that potential DIYers do the same.
Tip: Take photos at every step as you take apart your chair; save the original fabric pieces to use as a pattern.
When to see a pro
When your piece has structural issues or uncomfortable springs. A pro can completely rebuild your chair … not something the average person should try at home.
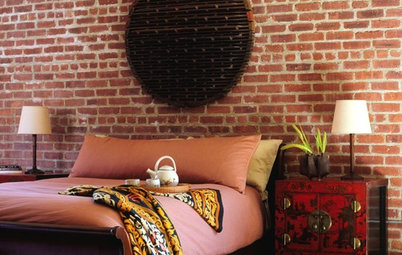
4. Whitewashing, liming and pickling
You can achieve a faded, whitewashed look using a number of methods. What they all have in common is that they lighten wood while still allowing the grain to show through.
Tools of the trade
Brass or copper brush or wool, sandpaper, liming wax, liming solution or primer, soft rags and clear wax or clear polyurethane.
How-to
Rough up the wood with a copper or brass brush to allow the whitewash to adhere better. Sandpaper and then vacuum the surface or wipe the dust away.
To lighten the wood, you can use liming wax, liming wash or a solution of primer and water, working it in with a rag. If you’re using wax, remove excess wax with fine steel wool and seal the surface with clear wax. If you’re using primer or liming solution, wipe off the excess with a rag. Once the piece is dry, seal it with a coat of polyurethane.
5. Milk paint
The most natural type of paint on the market, true milk paint is actually made with milk; it comes in powder form and you mix up the paint yourself. It is nontoxic, comes in a wonderful range of customisable colours and works on unfinished or finished wood surfaces.
Tools of the trade
Buckets and stir sticks for mixing, paintbrushes and drop cloth.
Want to know the secret to long-lasting paint job?
6. Latex and oil paints
First, which to choose? Latex paints have the distinct advantage of being water soluble, which means cleanup is as easy as dunking your tools in a bucket of water.
Oil-based paint requires taking more safety precautions: The fumes mean it is best to work outdoors; harsh chemical solvents are needed for cleanup; and you must bring all leftovers to a hazardous waste center. The advantages of oil-based paints are better coverage and, some say, richer colors.
Tools of the trade
Drop cloths, sandpaper, mini foam rollers, painter’s tape, primer, latex or oil paint, and solvent for oil paint.
How-to
Remove all drawers and hardware, and set the piece up on bricks or wood blocks on top of a drop cloth. Sand lightly and wipe away dust. Tape off the edges of the drawers as needed with painter’s tape. Give the piece a coat of primer and let it dry.
For painting, use a small roller to get a smooth application without brush lines. Start at the top and work your way down; let the paint dry completely between coats.
7. Spray paint
For outdoor furniture, nothing beats a few coats of spray paint. Choose a formula made for outdoor furniture, and it will stand up well to the elements.
Tools of the trade
Outdoor furniture spray paint, rubber gloves, painter’s mask and drop cloth.
How-to
Thoroughly clean the furniture, scrubbing off scuffs and rust, and let it dry completely. Wear rubber gloves and a painter’s mask while spray painting. Working outdoors on a drop cloth, spray the furniture with even strokes. Several light coats will provide even coverage without too many drips.
8. Re-cover a seat cushion
Unlike a full reupholstery job, re-covering a seat cushion is a relatively simple and satisfying project.
Tools of the trade
Staple gun, new fabric and foam.
How-to
Unscrew the seat cushion from the chair. Remove the old fabric and use it as a template to cut new fabric. If the batting or foam cushion is very worn, replace it. Wrap the new fabric over the seat and use a staple gun to attach it. Screw the seat back in place.
Read more:
How to Stylishly Repurpose and Reuse Old Items in Your Home
Tell us:
Did you recently undertake a DIY furniture revamping job at home? Share images and tell us about it in the Comment below.


This is not an easy task and definitely is not wise for anyone with respiratory issues to undertake – but aside from those caveats, stripping your own old furniture can save money and produce good results.
Tools of the trade
Chemical stripper (note that the faster-acting strippers are also the most toxic), solvent respirator with new filters, safety goggles, chemical-resistant gloves, work apron, brushes, scrapers and steel wool.